How To Interface DS18B20 Temperature Sensor To Arduino UNO
- Amit Rana
- Sep 5, 2023
- 3 min read
Introduction:
In this tutorial we are going to learn How to interface DS18B20 Temperature sensor to Arduino UNo, the Arduino Uno is a popular for many hobbyists. Its simplicity, versatility, and extensive community support make it an ideal platform for a wide range of projects. One common task in temperature monitoring projects is interfacing a temperature sensor, such as the DS18B20, with the Arduino Uno. In this blog post, we will provide a step-by-step guide on how to interface the DS18B20 sensor with an Arduino Uno, allowing you to measure and monitor temperature with ease.
Components Needed:
Before we dive into the tutorial, let’s make sure we have all the necessary components:
Arduino Uno: The Arduino Uno board will serve as the main microcontroller for our project.
DS18B20 Temperature Sensor: The DS18B20 is a digital temperature sensor with a built-in 1-wire interface. It provides high-precision temperature readings.
Breadboard and Jumper Wires: These are essential for creating the necessary connections between the Arduino Uno and the DS18B20 sensor.
4.7kΩ Resistor: A 4.7kΩ pull-up resistor is required to connect the DS18B20 sensor to the Arduino Uno.
LCD 16X 2 OR Shield of LCD compatible for Arduino
Circuit:
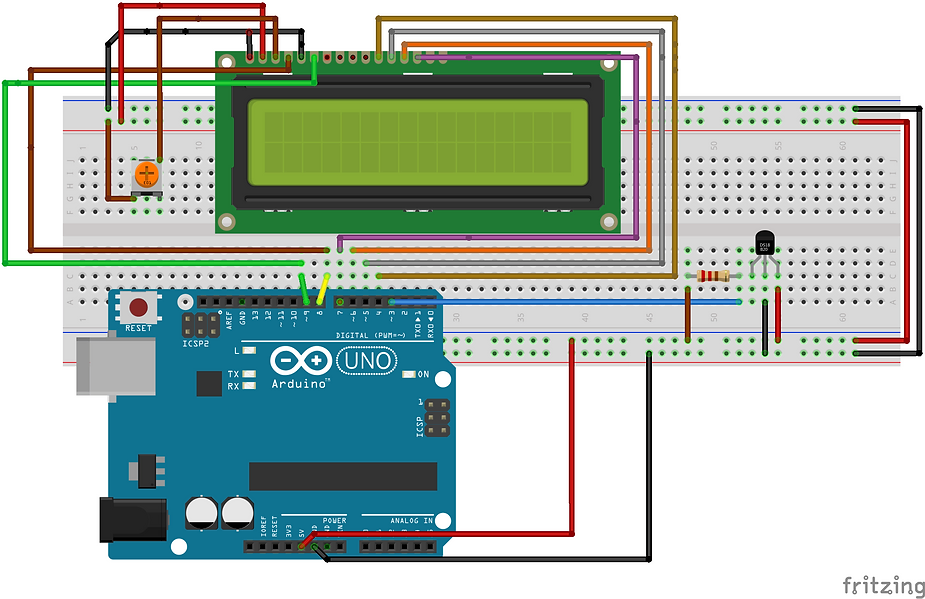
Step 1: Wiring the Circuit: Start by connecting the components on the breadboard as follows:
Connect the VCC pin of the DS18B20 sensor to the 5V pin on the Arduino Uno.
Connect the GND (Ground) pin of the DS18B20 sensor to the GND pin on the Arduino Uno.
Connect the data pin (DQ) of the DS18B20 sensor to digital pin 2 on the Arduino Uno.
Place the 4.7kΩ pull-up resistor between the VCC and data pins of the DS18B20 sensor.
Step 2: Installing the Libraries: To interface the DS18B20 sensor with the Arduino Uno, we need to install the OneWire and DallasTemperature libraries. Here’s how you can do it:
Launch the Arduino IDE on your computer.
Go to “Sketch” -> “Include Library” -> “Manage Libraries”.
In the “Library Manager” window, search for “OneWire” and click the “Install” button to install the library.
Similarly, search for “DallasTemperature” and install the library.
Step 3: Code: write the code to read temperature data from the DS18B20 sensor. Open a new sketch in the Arduino IDE and copy the following code:
Step 4:
Uploading the Code: Connect your Arduino Uno to your computer using a USB cable. Make sure you have selected the correct board and port in the Arduino IDE. Then, click on the “Upload” button to upload the code to the Arduino Uno.
Step 5:
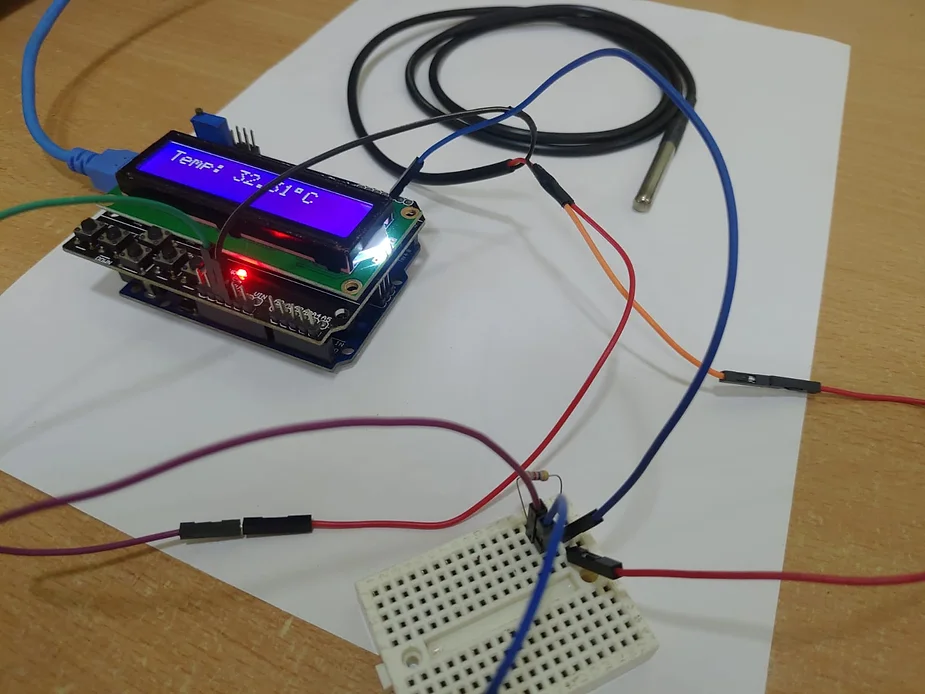
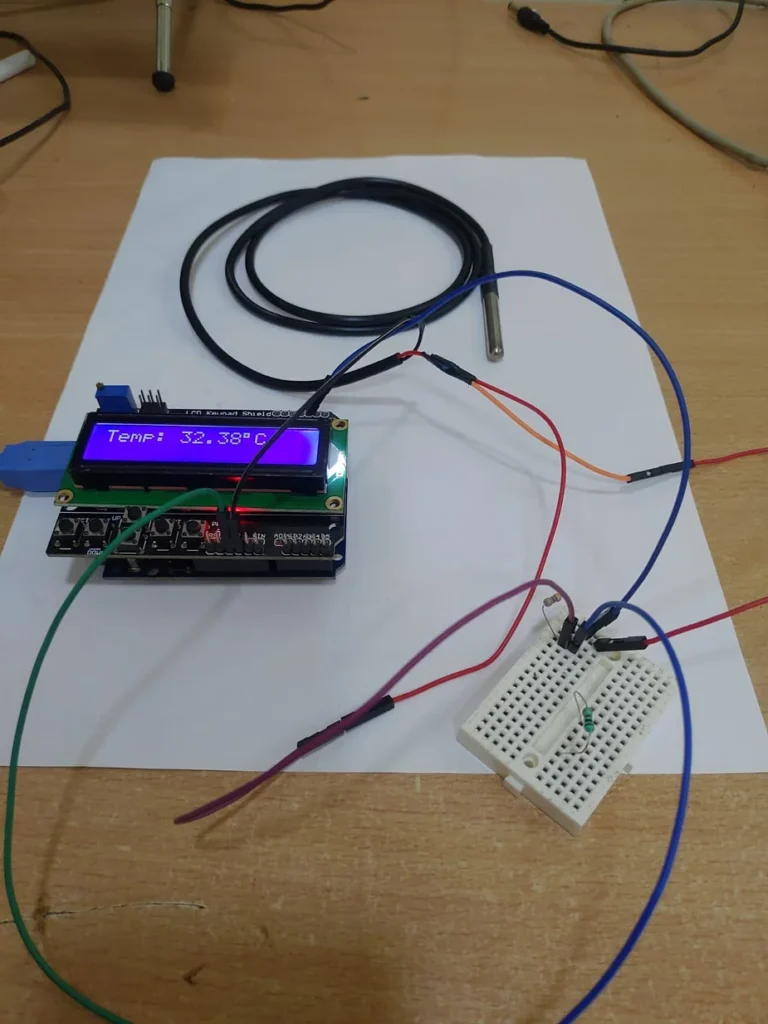
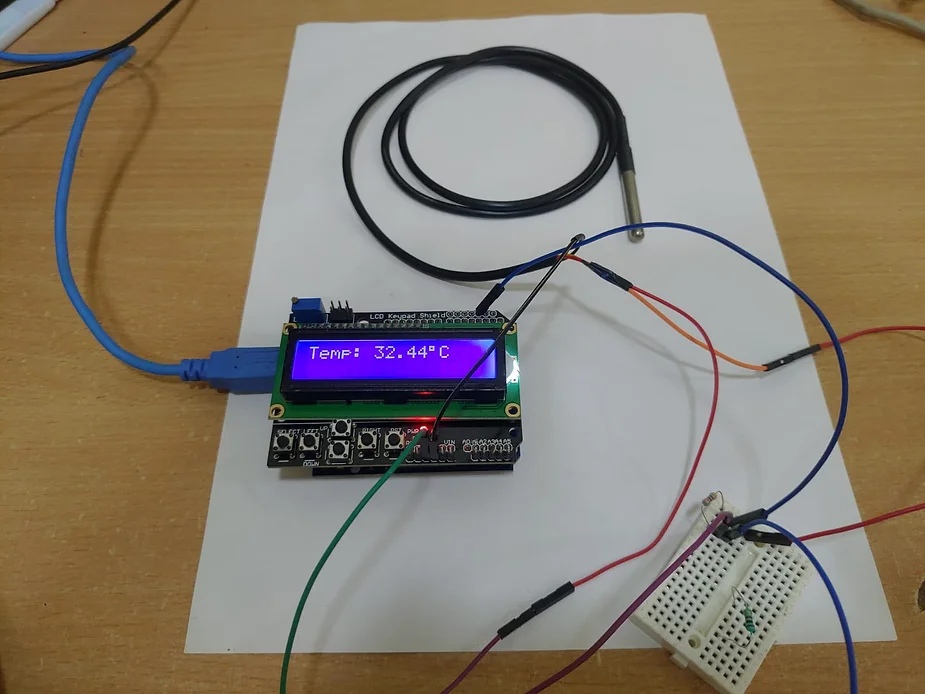
Testing the Setup: After the code is successfully uploaded to the Arduino Uno, open the Serial Monitor in the Arduino IDE. You should see the temperature readings printed on the Serial Monitor and LCD Display also
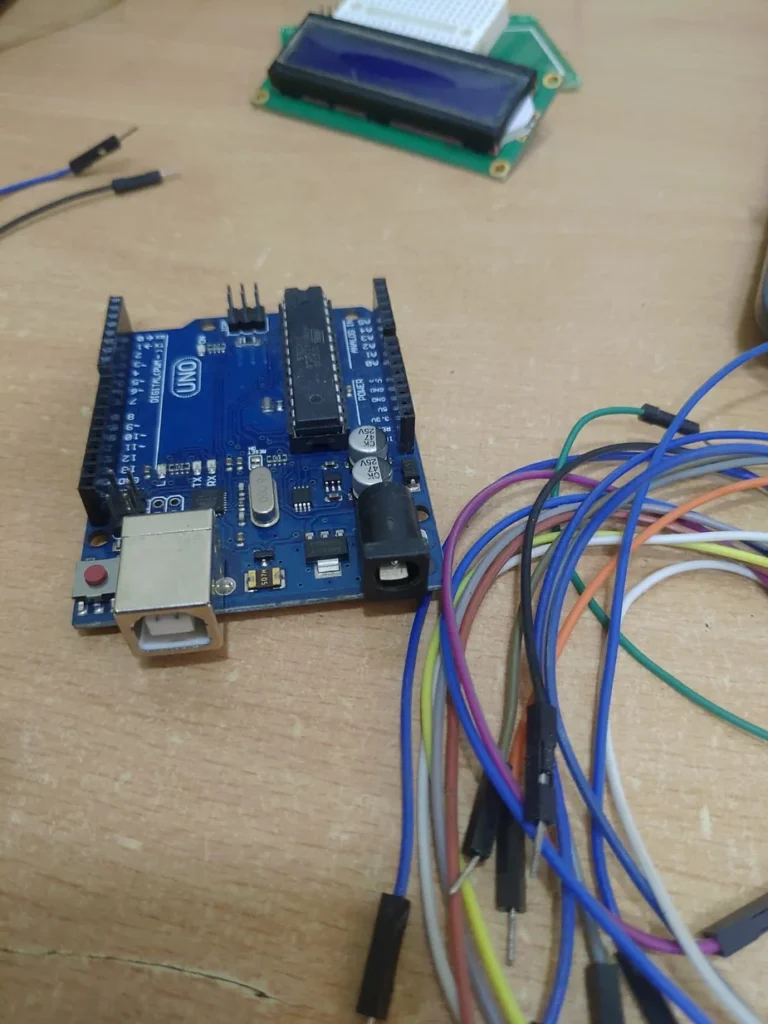
Photos

Working Video